Working with plastisol inks is a foundational skill for screen printers, offering vibrant, durable prints that withstand wear and tear. Whether you’re troubleshooting white plastisol ink problems or mastering advanced techniques like white plastisol ink wet on wet underbase, understanding the process ensures consistent, professional results. This article outlines the essential steps involved in working with plastisol inks, highlights common challenges, and explores specialized ink options like white shimmer plastisol ink and white reflective plastisol ink.
Understanding Plastisol Inks
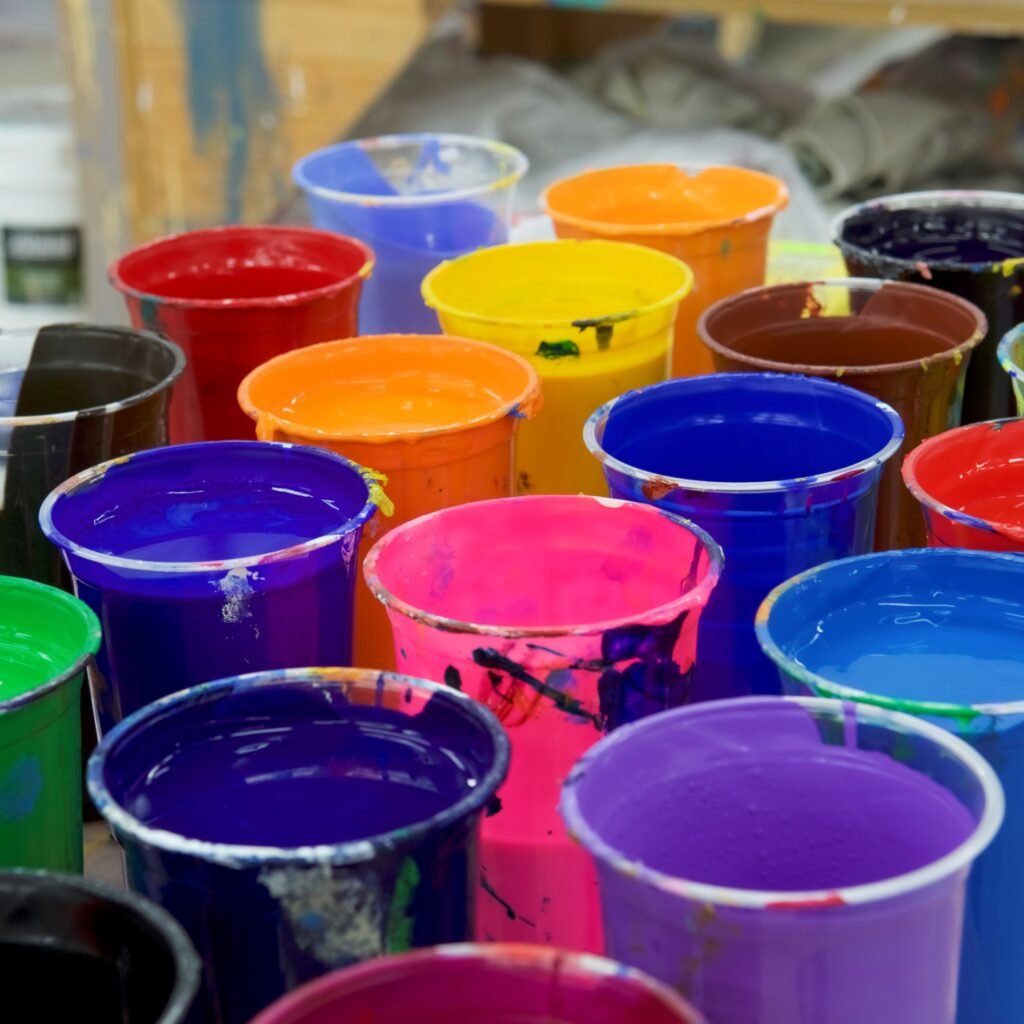
Plastisol inks are the most widely used inks in screen printing due to their versatility, opacity, and durability. Unlike water-based inks, plastisol inks do not dry unless exposed to heat, allowing for longer workability during printing sessions.
Key Benefits of Plastisol Inks:
- Vibrant Colors: Perfect for bold, opaque prints.
- Durability: Long-lasting designs resistant to cracking or fading.
- Versatility: Compatible with a wide range of fabrics.
Working with plastisol inks effectively requires understanding their unique properties and following proper application techniques.
Step 1: Preparing Your Screen and Design
1. Selecting the Right Mesh Count
The mesh count of your screen determines the level of detail your design will capture. For intricate designs or specialty inks like white shimmer plastisol ink, a higher mesh count is ideal.
2. Coating the Screen with Emulsion
Apply a thin, even layer of emulsion to your screen and allow it to dry in a dark, dust-free environment. This step creates a stencil for your design.
3. Exposing the Design
Place your design on the emulsion-coated screen and expose it to UV light. Rinse away the unexposed emulsion to reveal your stencil.
By preparing your screen correctly, you lay the foundation for successful prints when working with plastisol inks.
Step 2: Setting Up Your Press
Proper setup ensures smooth application of plastisol inks and reduces issues like white plastisol ink problems.
1. Secure the Screen
Ensure the screen is tightly secured to the press for accurate alignment. Misalignment can lead to blurry or uneven prints.
2. Adjust the Off-Contact Distance
The off-contact distance refers to the space between the screen and the fabric. For smooth application of white reflective plastisol ink or other specialty inks, maintain a consistent off-contact distance.
3. Register the Design
Align the screen with the printing surface to ensure the design prints in the correct position.
Step 3: Choosing and Applying Plastisol Inks
1. Selecting the Right Ink
- White Shimmer Plastisol Ink: Adds a glittery, metallic finish to designs.
- White Reflective Plastisol Ink: Ideal for safety apparel and designs requiring visibility in low light.
- White Plastisol Ink Wet on Wet: Simplifies multi-color designs by allowing layers to be printed without intermediate curing.
2. Mixing and Testing the Ink
Stir the ink thoroughly to ensure even pigment distribution. Test print your design to confirm color accuracy and adhesion.
3. Printing the Design
Use a squeegee to apply the ink evenly across the screen. Maintain consistent pressure and angle for smooth application.
Working with plastisol inks requires attention to detail during this step, especially when handling specialty formulations like white shimmer plastisol ink.
Step 4: Curing Plastisol Inks
Curing is the process of heating plastisol ink to bond it permanently to the fabric. Proper curing prevents common issues like cracking or peeling.
1. Use a Flash Dryer or Conveyor Dryer
Heat the ink to its recommended curing temperature, typically around 320°F (160°C).
2. Monitor Ink Thickness
Thicker layers of ink, such as those from white plastisol ink wet on wet underbase, may require additional curing time to ensure complete adhesion.
3. Avoid Overheating
Excessive heat can scorch the fabric or alter the ink’s color. Use a heat gun or infrared thermometer to monitor temperatures.

Step 5: Troubleshooting Common Problems
While working with plastisol inks, you may encounter challenges that affect print quality. Here’s how to address them:
1. White Plastisol Ink Problems
- Problem: Ink appears dull or uneven.
Solution: Ensure the ink is mixed well and applied evenly. Use an appropriate mesh count for the design. - Problem: Curing inconsistencies lead to cracking.
Solution: Verify curing temperature and time. Adjust the heat source for even coverage.
2. Issues with Wet-on-Wet Printing
When using white plastisol ink wet on wet, improper layering can cause smudging or ink buildup. Use light pressure and avoid excessive overlap between layers.
Step 6: Cleaning and Reclaiming Screens
After completing your prints, clean the screens to remove ink and emulsion residue. Proper cleaning extends the life of your screens and prevents cross-contamination of colors.
1. Removing Excess Ink
Scrape off leftover ink using a spatula or scoop coater. Save unused ink for future projects.
2. Applying Screen Cleaner
Use a screen cleaning solution to dissolve remaining ink. For stubborn residues, use a pressure washer.
3. Reclaiming the Screen
Strip the emulsion from the screen using an emulsion remover. Rinse thoroughly to prepare the screen for the next project.
Advanced Techniques for Plastisol Inks
1. White Plastisol Ink Wet on Wet Underbase
This technique involves printing a white underbase layer that remains wet while subsequent colors are applied. It’s ideal for multi-color designs requiring a bright base.
2. Using Specialty Inks
Incorporate inks like white shimmer plastisol ink or white reflective plastisol ink to add unique finishes to your designs. These inks can elevate standard prints with their distinctive properties.
3. Layering for Dimension
Experiment with layering techniques to create textured or three-dimensional effects. Thick plastisol inks lend themselves well to these designs.

Final Thoughts: Mastering the Basics of Working with Plastisol Inks
Working with plastisol inks is a rewarding process that combines creativity with technical skill. By following the steps outlined in this guide and addressing challenges like white plastisol ink problems, you can achieve professional-quality prints that stand out.
Whether you’re exploring advanced techniques like white plastisol ink wet on wet underbase or experimenting with specialty products like white shimmer plastisol ink, understanding the basics is key to success. With practice and attention to detail, plastisol inks will become an indispensable part of your screen printing projects.


