
Master screen printing emulsion with 5 powerful tips on curing, coating, and spotting defects. Ensure flawless prints every time .
1.Signs of Overexposure in Screen Printing
Overexposure during the emulsion curing process is a frequent issue for beginners. Key indicators of overexposure include:
- Stencils becoming brittle and cracking during printing.
- Difficulty washing out unexposed emulsion, even after extended rinsing.
- Loss of fine details due to excessive UV hardening.
- Visible “ghosting” around edges where light leaked through the film.
To prevent overexposure, always perform an exposure test using an exposure calculator, adjusting the UV light distance and timing based on the emulsion type.
What Is Screen Printing Emulsion?
Screen printing emulsion is a light-sensitive liquid applied to mesh screens to create stencils for ink transfer. It hardens when exposed to UV light, blocking ink in non-design areas while allowing it to pass through open mesh sections.
There are two main types:
- Dual-Cure Emulsions: Ideal for detailed jobs; they combine diazo and photopolymer for added versatility.
- Photopolymer Emulsions: Known for faster exposure times, but less forgiving with overexposure.
For beginners, dual-cure emulsions like Ulano QTX or Chromablue offer an excellent balance of ease and performance.
3.How Many Coats of Emulsion Should You Apply?
Most screens require 1-2 coats per side, totaling 2–4 coats. The number of coats depends on:
- Mesh Count: Higher mesh counts (e.g., 230+) need thinner coats to prevent clogging.
- Emulsion Viscosity: Thicker emulsions generally require fewer coats.
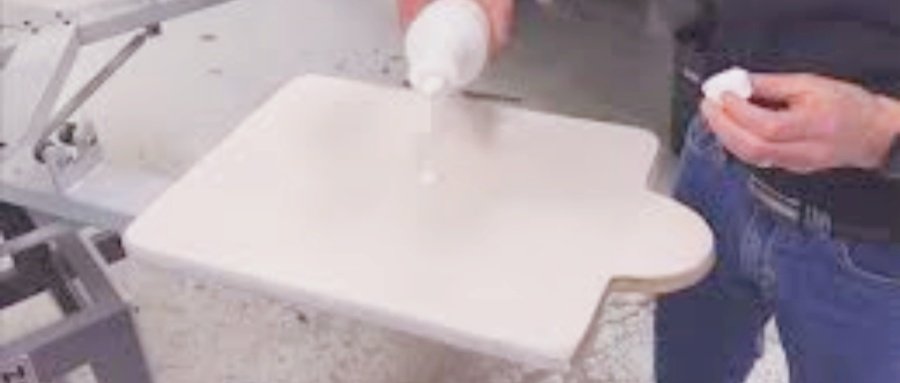
Pro Tip: Use a scoop coater for even emulsion application. Hold the screen at a 45° angle, apply the emulsion in smooth, upward strokes, and allow each coat to dry completely (30–60 minutes) before adding the next.
4.How to Identify Bad Emulsion
Expired or degraded emulsion can lead to failed stencils. Signs that your emulsion is no longer usable include:
- Color Changes: Yellow or brown tints suggest chemical breakdown.
- Lumpy Texture: A smooth emulsion is ideal; clumps indicate spoilage.
- Weak Adhesion: If the emulsion peels off during washout, it’s lost its photosensitivity.
- Foul Odor: A sour smell suggests bacterial growth.
Always check the expiration date and store emulsion in a cool, dark place.

5.How Long Does It Take for Emulsion to Cure?
Once coated and dried, emulsion requires UV exposure to fully cure. Curing times vary based on the type of emulsion:
- Dual-Cure Emulsion: 3–8 minutes under a 500W UV light.
- Photopolymer Emulsion: 1–3 minutes.
After exposure, let the screen rest for 15–30 minutes before washing out to allow the emulsion to stabilize.
6.Shelf Life of Screen Printing Emulsion
Unmixed screen printing emulsion can last 6–12 months when stored properly. Once mixed with diazo for dual-cure emulsions, use it within 2–3 months.
To extend shelf life:
- Refrigerate unopened containers.
- Prevent contamination by using clean tools.
- Seal containers tightly after use.
7.How to Correct Overexposure in Screen Printing
Once you’ve identified overexposure in your screen, it’s essential to correct it before proceeding with further prints. Here are a few ways to handle overexposed screens:
- Increase Washout Time: If you’re unable to wash out the unexposed emulsion, try using warm water with gentle agitation for an extended period. Be patient, as this will allow the emulsion to soften and loosen from the mesh.
- Re-coat the Screen: If overexposure has compromised the stencil, you might need to reapply emulsion to the screen. After removing the overexposed stencil, clean the mesh thoroughly, then coat again with fresh emulsion.
- Reduce Exposure Time for Next Prints: To avoid the same issue in future prints, reduce the exposure time slightly or lower the distance between the screen and the UV light source during exposure. Conduct test exposures to fine-tune the settings.
8.Troubleshooting Defects in Screen Printing
While mastering emulsion curing is crucial, common printing defects can still occur. Here’s how to troubleshoot them:
- Pinholes: Tiny, round holes in your prints are often caused by contamination on the screen or an improperly coated stencil. Ensure your screen is thoroughly cleaned before coating, and check for dust or debris before exposure.
- Blurry Prints: This can occur if the stencil isn’t properly exposed or cured. If the stencil is too soft or the exposure is insufficient, fine details may wash away or appear blurry. Always perform a test exposure for accuracy.
- Uneven Ink Coverage: This is usually a result of improper emulsion coating or uneven pressure during printing. Check the emulsion application and make sure your screen is clean and well-prepped.
9.Maintaining Your Emulsion and Screens
Taking proper care of both your emulsion and screens will help prolong their life and improve print quality. Regularly clean your screens with screen cleaning chemicals to prevent the buildup of ink residue, and store screens upright in a cool, dry place away from direct sunlight.
Properly managed screens and emulsions make a significant difference in the consistency and quality of your prints, so never skip maintenance steps.

Conclusion
Mastering screen printing emulsion is essential for producing crisp, durable prints. From avoiding overexposure to detecting expired emulsion, these expert tips will help streamline your workflow. By prioritizing proper storage, precise coating, and regular testing, you can maximize your printing results every time.
