
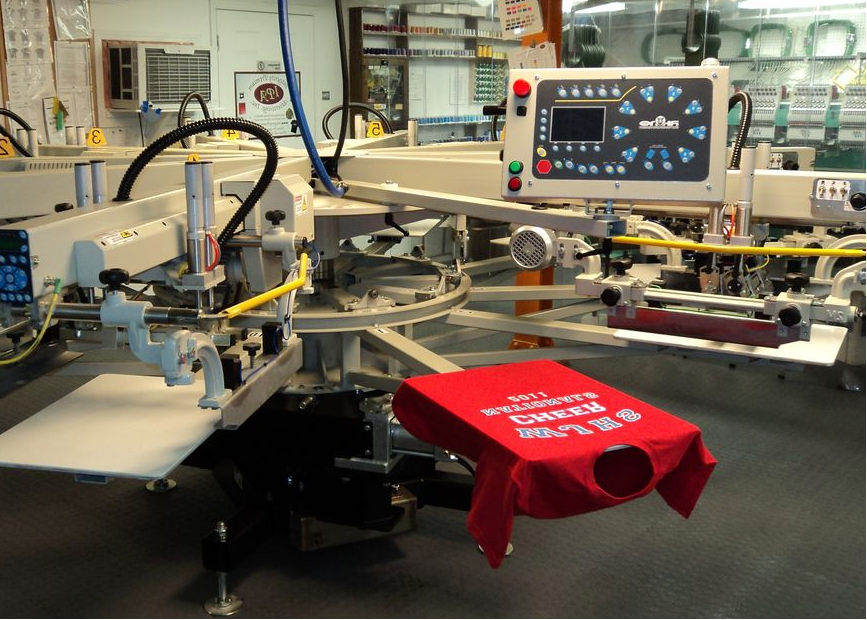
Walk into basically any shop—manual garage press or an eight-head auto—and you’ll smell plastisol. It’s the shop default for one reason: it doesn’t give you headaches on the press.
It won’t skin over in the mesh while you take lunch, it covers black tees without a fight, and what comes out of the dryer looks identical all shift long. If you’re staring down a run of a thousand shirts, that predictability is gold.
The catch starts when you pull the shirt off the pallet. Plastisol sits on the cotton like a vinyl sticker. It’s stiff, doesn’t breathe, and if you try printing it on cheap polyester, the dye bleeds through before the box even cools down.
Standard cotton hoodies and dark workwear: easy money with plastisol. Thin fashion blends and athletic poly: expect extra steps or grab a different ink.
A plastisol that prints like a dream on 100% cotton can turn into a sticky nightmare on polyester. An ink that sticks to raw nylon might peel right off a waterproof jacket. Even your cure temperatures can vary wildly between formulas. That is why smart printers don’t treat plastisol as a single universal product. You need to treat it as a family of specialized ink systems.
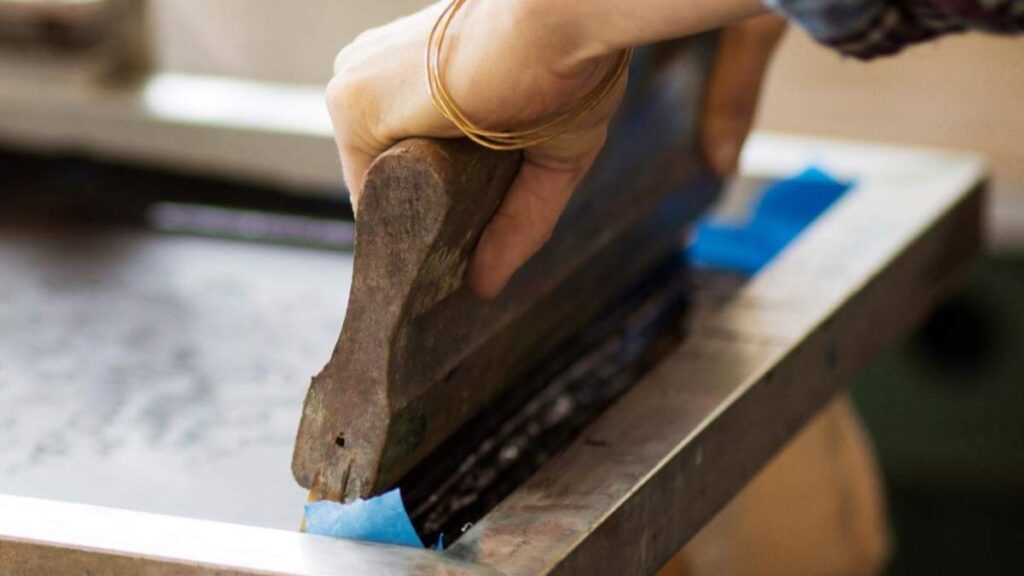
What Plastisol Ink Actually Is
At its core, a standard plastisol ink combines PVC resin, plasticizers, pigments, and performance additives. These ingredients control viscosity, opacity, surface finish, and stretchiness.
Unlike inchiostro a base d'acqua, plastisol will not dry out on your screen through evaporation. The ink remains a soft paste until you apply enough heat for the resin and plasticizer to fuse together completely.
The Fusion Process:
Liquid Plastisol Paste → Apply Heat (320°F / 160°C) → Fused Solid Ink Film
This chemical setup lets you take a lunch break without worrying that ink will ruin your screen mesh. But it also means curing is critical.
A print might feel dry to the touch right out of the tunnel dryer but it could still be completely uncured underneath. If that ink film fails to reach full fusion, your design will wash out in the laundry. You can never judge a cure simply by feeling the top of the shirt.
Cotton Is Usually the Easier Substrate
Printing on cotton gives you plenty of room for error.
If you are printing a light garment, you can usually squeeze the ink right onto the fibers. Dark shirts need a bit more prep. You will want to lay down a solid white underbase first so your top colors pop.
Your artwork dictates your press setup:
- Fine lines and halftones: Require higher mesh counts and thin stencils.
- Solid white logos: Need lower mesh counts for heavy ink coverage.
- Large opaque prints: Behave differently than light color layers.
Because of these variables, rigid rules like “always use 110 mesh for plastisol” are useless. Select your mesh count based on ink thickness, pigment size, required opacity, and desired hand feel.
The same logic applies to squeegee pressure. Pushing down too hard drives ink deep into the fabric threads instead of resting it cleanly on top. Keep your pressure moderate and consistent on automatic machines.
Polyester Needs a Different Approach
Polyester is where screen printing problems usually start. The main villain here is dye migration.
When you heat polyester, the fabric dyes turn into gas. These gaseous dyes migrate up into your wet ink film and ruin your printed colors. Picture a bright white print on a red polyester jersey. It looks brilliant right out of the printer but it turns bright pink a few hours later! Navy, royal blue, and black fabrics cause similar headaches.
To stop bleed, always start with a specialized low-bleed plastisol ink. If you are dealing with nasty sublimated camouflage or polyester, put down a heavy-duty bleed-blocking underbase first.
Layering for Polyester:
- Top Color (Plastisol Ink)
- Bleed-Blocker / Underbase (Stops migrating dyes)
- Polyester Fabric (Dyed)
Watch your dryer heat closely. While 160°C (320°F) is the traditional cure target, pumping up heat on polyester fabric triggers dye migration. Try using low-cure plastisol inks instead. These inks fuse at lower temperatures so you can protect your fabric colors from ruining your hard work.
Cotton/Polyester Blends Are Not the Same as Cotton
Don’t let a soft 60/40 blend fool you into treating it like pure cotton. That garment still carries enough polyester to cause dye bleed under hot dryer conditions.
Some blended shirts print easily but others act like pure polyester. Never rely solely on the garment tag. Print a test shirt and check it the next morning because dye migration takes time to show up.
Nylon Depends Heavily on Surface Treatment
You can print on nylon with plastisol but getting it to stick takes extra work.
The issue isn’t the nylon fiber itself. Jackets, bags, and umbrellas usually feature water-repellent coatings or chemical treatments. Those coatings push ink away just like they push water away!
Test your fabric first. You might need a bonding additive or a dedicated nylon ink formula. If your cured ink peels off like tape, turning up the dryer heat won’t help. You simply need a proper ink additive to bite into that specific coating.
Mesh, Ink Deposit, and Squeegee Settings
Your screen mesh, ink thickness, and squeegee settings work together as a team.
Lower mesh counts dump down thick ink deposits. Higher mesh counts lay down thin layers for fine detail work. However, the ink formula changes the math. A high-opacity white ink behaves differently through a 160 mesh than a clear gel or a chunky glitter ink.
Match your screen mesh to the actual ink you are pushing. Then adjust your squeegee angle and pressure to shear the print cleanly. If you need four heavy print strokes just to cover the fabric, step back and re-evaluate your screen setup.
Underbase and Flash Temperature
A great underbase makes or breaks dark garment prints. You want full opacity without building a thick plastic shield on the chest.
Treat your flash cure unit carefully. Apply just enough heat to gel the top surface so it feels tacky. Do not cure it completely!
On long runs with automatic presses, your shirt platens absorb heat over time. A flash setting that works on your first shirt might scorch your tenth garment. Keep an eye on your platen temperatures throughout the entire run.
Curing Plastisol Ink
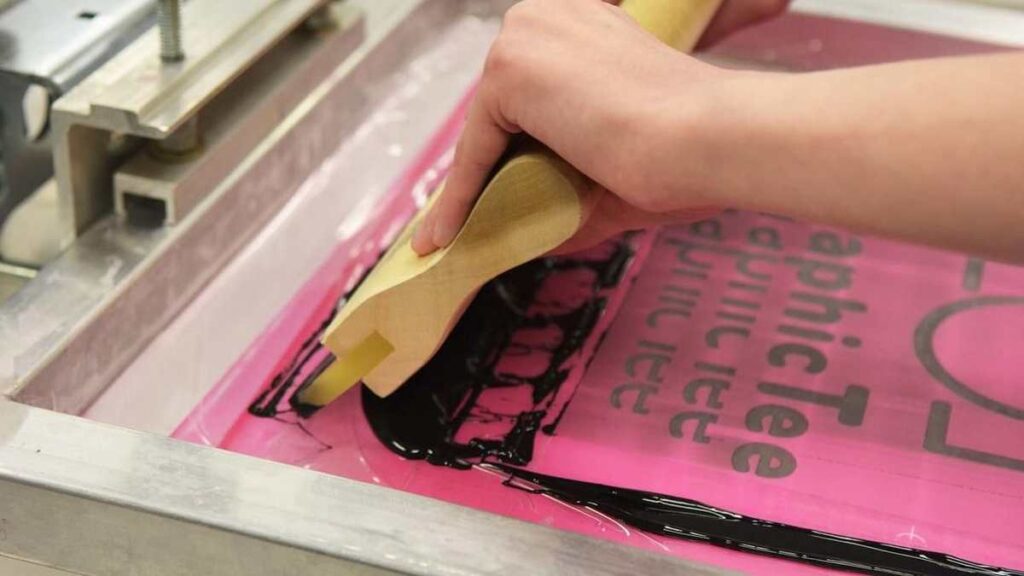
Under-curing is the absolute number one cause of print failures.
Conveyor dryers have several moving parts: heat settings, air circulation, belt speed, and tunnel length. Thick ink layers take longer to reach temperature than thin detail layers.
Ink Thickness vs. Heat:
- Heavier Ink Film: Requires longer dwell time to reach full internal cure temperature.
- Thinner Ink Film: Heats up quickly and cures fast.
Do not trust the temperature readout on the dryer wall! Check the real temperature inside the actual ink film using a donut probe or heat strips. Once you find a dryer setting that works, write it down alongside your ink and fabric details.
How to Check the Finished Print
Once your shirt cools down, pull the printed graphic gently. If the ink cracks immediately, it is under-cured or lacks elasticity.
If it passes the stretch test, put it through a harsh wash cycle. After washing, check your print for these red flags:
- Cracking along stress points
- Peeling edges
- Fading color
- Rough, chalky texture
Common Plastisol Printing Problems
| Problema | Likely cause | What to check |
| Print cracks after washing | Ink film is under-cured | Actual ink temperature, belt speed, ink thickness |
| White ink turns pink or grey | Polyester dye migration | Fabric type, cure temperature, low-bleed underbase |
| Poor adhesion | Substrate coating issues | Water repellent treatments, nylon bonding additives |
| Dull opacity | Low ink deposit | Mesh count, stencil thickness, squeegee pressure |
| Print feels heavy and stiff | Excessive ink layer | Underbase thickness, print strokes, mesh selection |
| Ink picks up on next screen | Flash temperature too high | Flash time, platen heat, print order |
| Ink gets stiff in the screen | Ink is cold or high viscosity | Thorough mixing, approved ink reducers |
| Fine lines bleed together | Excess pressure or wrong screen | Off-contact, squeegee pressure, mesh selection |
Troubleshoot these issues by changing one single variable at a time. If you alter your mesh, reducer, pressure, and dryer speed all at once, you won’t know which tweak actually solved the problem.
Special-Effect Plastisol Inks
Specialty inks require custom setups. Inchiostro a spruzzo needs a thick coat so it can expand properly under heat. High-density inks require thick capillary film stencils. Metallic and glitter inks demand wide open mesh so decorative flakes can pass through cleanly.
Heat control matters here too. Overheating puff ink will make it expand and then instantly collapse. Treat every specialty effect like a brand-new process.
Plastisol Is Also Used Outside Textile Printing
Plastisol chemistry extends far beyond t-shirts. PVC plastisols coat tool handles, seal metal cans, and line automotive parts.
Do not mix up industrial plastisols with screen printing inks! Garment inks are specifically engineered for flexible fabrics, soft hand feel, and laundry cycles. Industrial formulas won’t work on textiles and textile inks will peel right off metal or hard plastics.
Plastisol Ink in Bulk Production
Printing one test shirt is easy, but maintaining quality across 10,000 garments takes discipline.
For long production runs, your ink must maintain stable viscosity and release cleanly from the screen hour after hour. Always run tests using your real production gear, full conveyor speeds, and actual job fabrics. Record your setup details so repeat jobs run smoothly every single time.
Plastisol vs Water-Based
Plastisol is forgiving. It won’t dry in the screen even if you leave it overnight, and getting opacity on dark shirts is easy. The catch is the hand feel—it sits on top of the shirt like a layer of rubber.
Water-based is the opposite. You get that retail, zero-hand feel because it dyes the thread, but you can’t leave it sitting in the mesh or it dries out fast. Dark shirts also usually require discharge or extra passes.
Athletic gear and workwear: plastisol. Fashion tees: water-based.
Domande frequenti
Can you print plastisol on polyester?
Yes, but you can’t run standard ink directly on poly without getting dye migration. You need a dedicated low-bleed ink or a gray/black blocker base down first to stop the dye from bleeding through.
What temperature should plastisol ink cure at?
Most standard plastisol inks cure around 160°C (320°F). However, low-cure formulations fuse at temperatures as low as 135°C (275°F). Always check the technical data sheet provided by your produttore di inchiostro plastisol.
Why does white plastisol turn pink on polyester?
This happens because of dye migration. The heat from your dryer turns polyester fabric dye into a gas, which bleeds directly into your white ink layer.
Can standard plastisol be used on nylon?
It depends on the surface finish. Raw nylon accepts plastisol reasonably well, but waterproof or fluorocarbon coatings will cause ink to peel. Add a nylon bonding agent to your ink for coated fabrics.
Why does plastisol ink crack after washing?
Under-curing is the main cause of cracking. If your ink film never reaches full fusion temperature throughout its entire thickness, it will crumble during the wash cycle.
Does plastisol ink dry in the screen?
No, plastisol won’t dry in the screen under normal room conditions. Because it needs high heat to set, it offers virtually unlimited working time on your press.
Should reducer be added when plastisol feels thick?
Not right away! Cold plastisol always feels stiff inside the bucket. Stir the ink thoroughly for a minute to warm it up before adding any chemical reducers.
Final Note
Screen printing success comes down to balance. Your ink selection, fabric type, screen setup, flash timing, and final cure temperature all depend on each other. Master those variables, keep accurate shop records, and you’ll run repeatable jobs with zero headaches!
 English
 Arabic
 Belarusian
 Bengali
 German
 Finnish
 French
 Italian
 Japanese
 Turkish
 Polish
 Danish
 Hungarian
 Croatian
 Hebrew
 Russian
 Greek
Greek Vietnamese
 Ukrainian
 Spanish
 Galician
 Marathi
 Thai
Thai Swedish
 Tamil
Tamil Afrikaans
 South Azerbaijani
 Welsh
Welsh Persian
 Indonesian